Photo Album Quickstart Guide...
This super quick tutorial will show you how to easily add photos to your orders...
Click To Move To Next Slide...
Step 1... Prepare Photos
In order to upload your photos to us, they must be in the correct format and not too big.
This step is not difficult to do with a common image editor, such as Adobe Photoshop®, Jasc Paint Shop Pro®, PhotoImpact® and others.
- It must be saved in JPEG format. (*.jpg *.jpeg etc.)
- It must have a file size less than 200kB.
Step 2... In Your Account
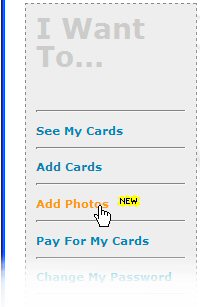
Once logged into your account...
Step 3... Upload Photo
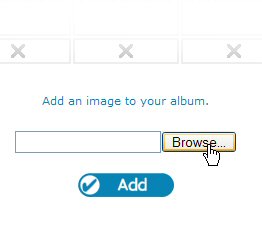
You have enough space for up to 5 photos to be uploaded.
- Click on "Browse".
- Select the photo from the pop-up box and click "Open".
- Click "Add"
Step 4... And you're done!
- The photo should now be uploaded and appear in your photo album.
- If there was any problem uploading the photo, an error message will tell you exactly what went wrong so that you can adjust the image before trying again.
- When you are now adding a card, you will be able to select a photo. We print it professionally and send it with your card, a great personal touch!
Extra note...
- Once you send us payment for a card including a photo, you may change to a different photo, but not remove it completely.
- Likewise, once you have paid for a card with no photo, one cannot be later added.
- We accept no inappropriate material being submitted onto photo albums. We regularly check that the content being sent to us is of an appropriate nature. At our discretion we may remove any inappropriate material without notice.
See the Terms and Conditions for more details.
The End...
Where next?
Thanks for reading this tutorial...